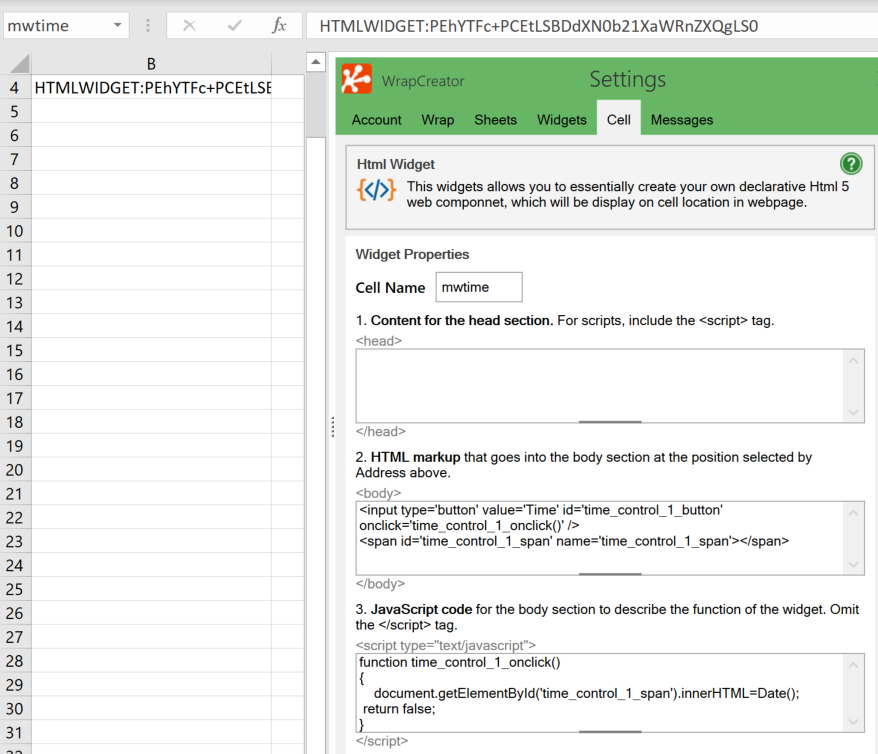
The HTML widget adds unique functionality to a wrap using JavaScript. In this help page, we will use it to insert a button that tells the current time for the web browser.
If you have a problem that would easily be solved using some JavaScript on the page, you can insert the missing functionality using a custom HTML widget. This widget has three parts:
Please note that we don’t provide a sandbox or similar extra security layer for the HTML widget. The JavaScript code you use will be run as-is on your production website. The code must sanitize all input data and conform to all the most recent security standards and conventions – and it may still constitute a vulnerability.
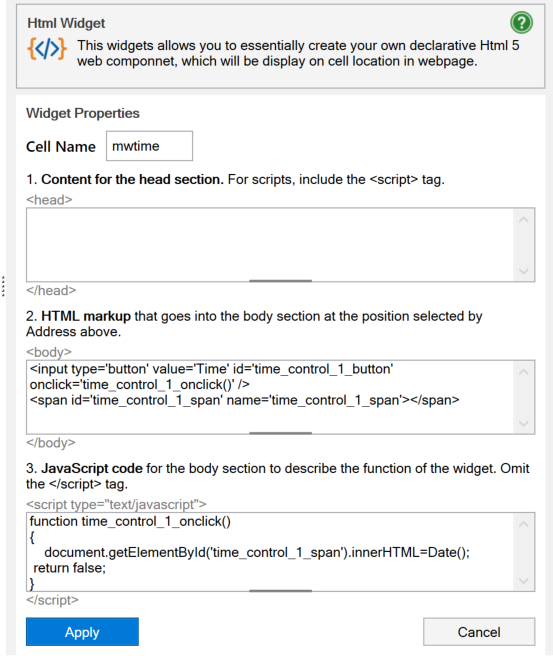
Anything you put here will be inserted into the <head> section of the HTML for the wrap. You can insert anything that belongs here, including JavaScript code that you need to define or execute before the entire page has been loaded.
The contents of the field are copied as they are. If you add JavaScript, remember to surround the code with <script> tags.
This field contains the HTML required to create a physical representation of the widget, e.g. a button.
WrapCreator will place this markup in the <body> section of the wrap’s HTML at the position of the widget cell.
When the HTML widget is activated, it usually runs a piece of JavaScript code. This code will be loaded in the <body> section of the wrap’s HTML.
To optimize performance, the code you store here will be saved in a file together with many other scripts. This file is loaded with a <script src=”<filename>” statement, so please don’t include any <script> tags with your code.
The script file is loaded with the defer attribute so don’t expect your code to be executable until the page has been fully loaded.
The HTML widget does not validate the three input fields in any way. You must test and debug the widget in the same way as if you had entered the same HTML and JavaScript directly in the web page source.
To delete a field, widget, wrap function or signature that has been stored at least once in the live production database is not a trivial task. The instructions below are only applicable during the initial development of a wrap, before it has ever been used in production. Read more about making changes to your wraps.
To remove an HTML widget:
The size of the output from a widget is constrained by the field in the wrap that corresponds to the widget cell. In the example below, the current time for the web browser is generated as a long text string:
Fri Jul 26 2019 14:52:05 GMT+0200 (Central European Summer Time)
If you place this HTML widget in an ordinary cell, the long text output does not fit the cell width and so it will wrap inside the cell:
Fri Jul 26
2019 14:52:
05 GMT+0200
(Central E
uropean Sum
mer Time)
If this is not what you want, you have three options:
Read more in the Introduction to using widgets.
Let’s look at an example of a custom HTML widget. The HTML below will generate a button in the wrap. If you press the button, it calls a script to show the date, time and time zone.
In the HTML field we put this markup:
<input type='button' value='Time' id='time_control_1_button' onclick='time_control_1_onclick()' />
<span id='time_control_1_span' name='time_control_1_span'></span>
In the JavaScript field we put this script:
function time_control_1_onclick()
{
   document.getElementById('time_control_1_span').innerHTML=Date();
   return false;
}
It may not be the most powerful widget ever created but it is simple enough to serve as a demonstration.
Here’s how this wrap looks when it is loaded into the web browser:

And here’s what it looks like when the Time button has been pressed.

Notice that the text string returned by the =Date() function call has wrapped over several lines in the widget’s cell. Instructions on how to avoid this can be found under Wrap or merge cells? above.