The task pane is where you do much of your work with WrapCreator. It lets you add graphical widgets and set options for the wrap.
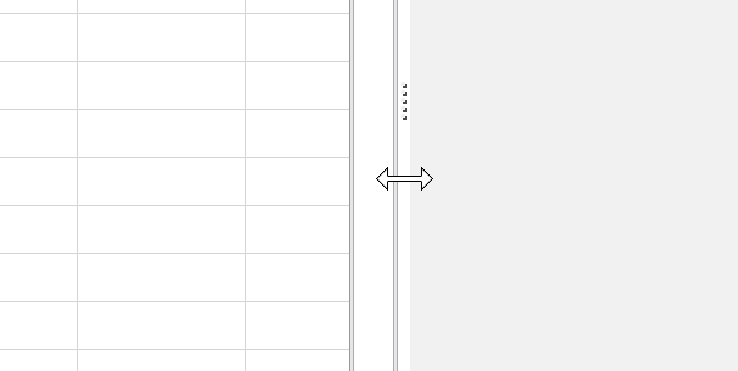
To show/hide the task pane, click on the dotted symbol on the vertical separator.

The task pane uses tabs for its different sections. You can go directly to one of these tabs using the shortcuts in the WrapCreator ribbon in Excel.
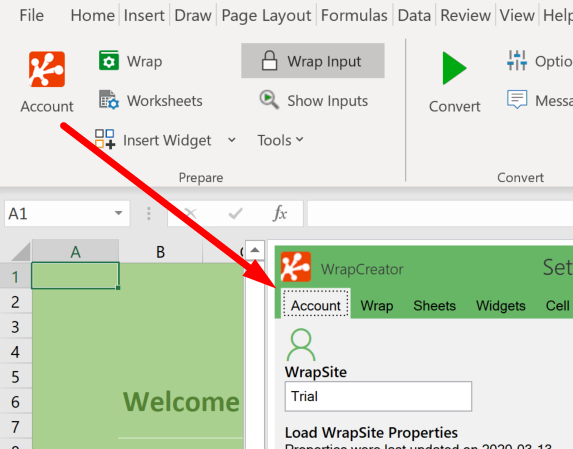
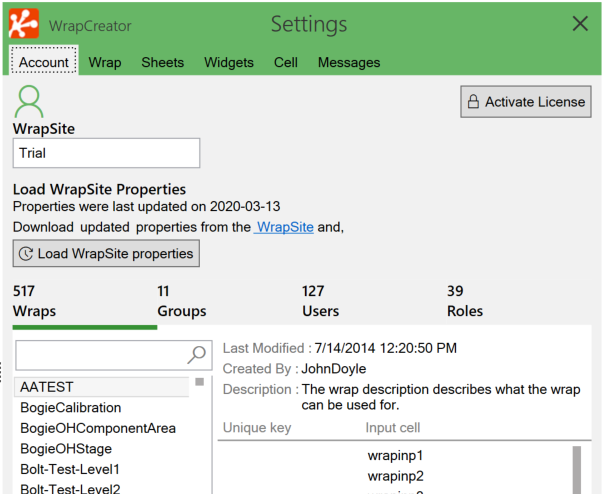
The Account shortcut opens the Account tab.
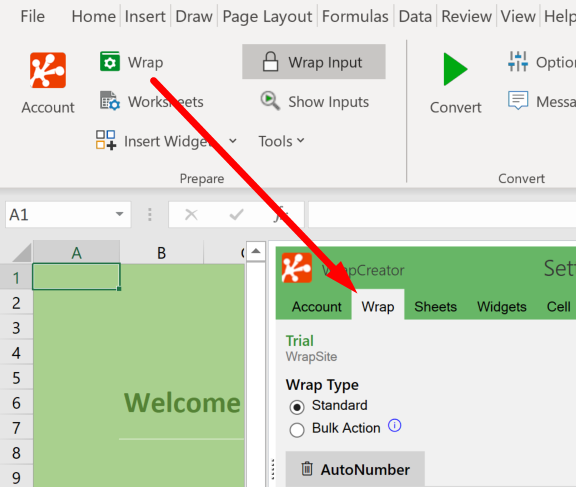
The Wrap shortcut opens the Wrap tab.
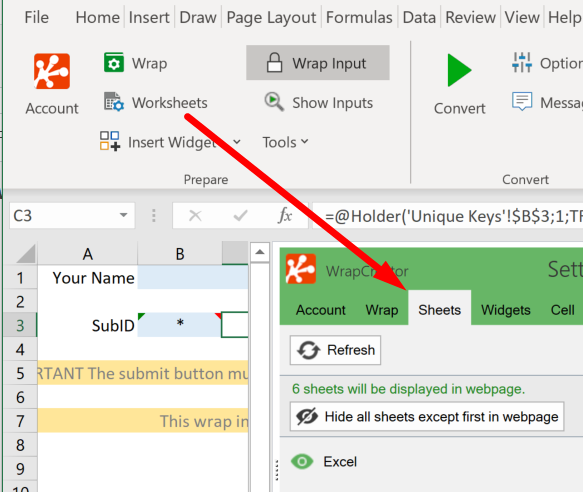
The Worksheets shortcut opens the Sheets tab.
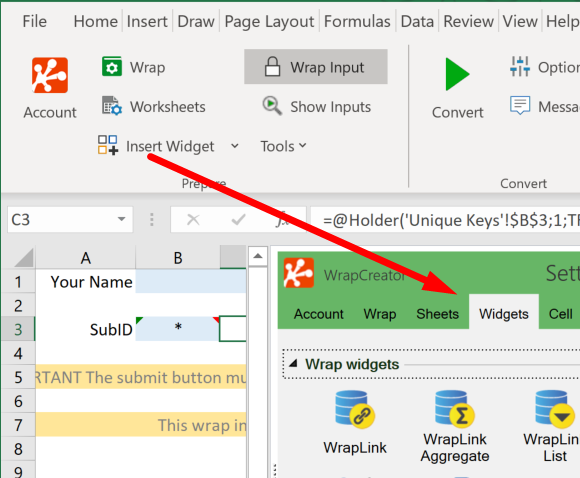
The Insert widget shortcut opens the Widgets tab.
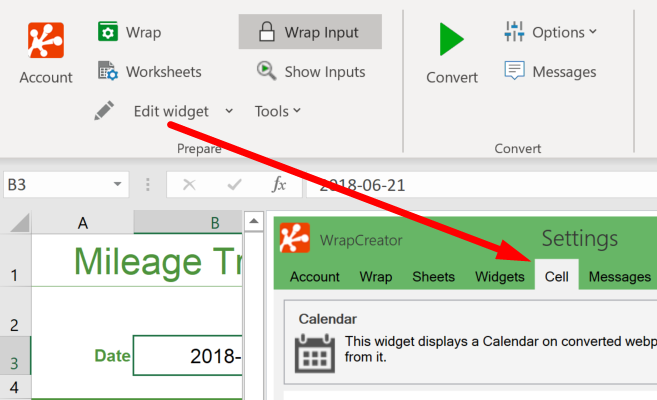
If there is a widget in the current cell, the Edit widget shortcut opens the Cell tab with the settings for the widget in the cell.
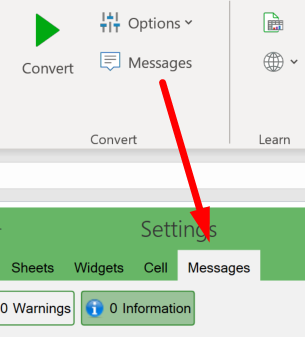
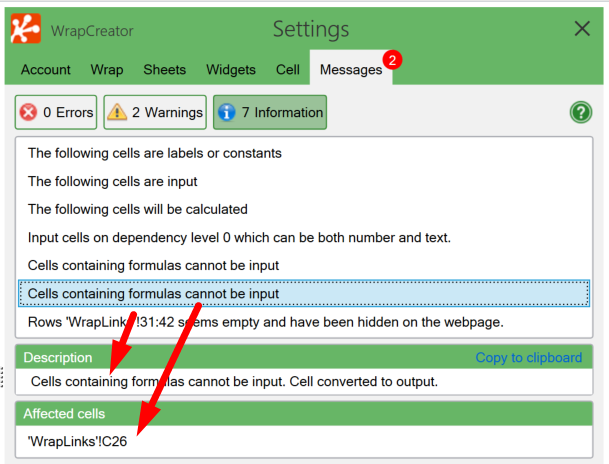
The Messages shortcut opens the Messages tab.
The task pane is pretty wide and can occupy a significant portion of the screen in Excel. When you don’t need it, you can close it by clicking on the X in its upper right-hand corner.
The Account tab connects the wrap to the wrapsite and its database. It is here you import your Wrapsite properties file. It is also used to activate your WrapCreator license.
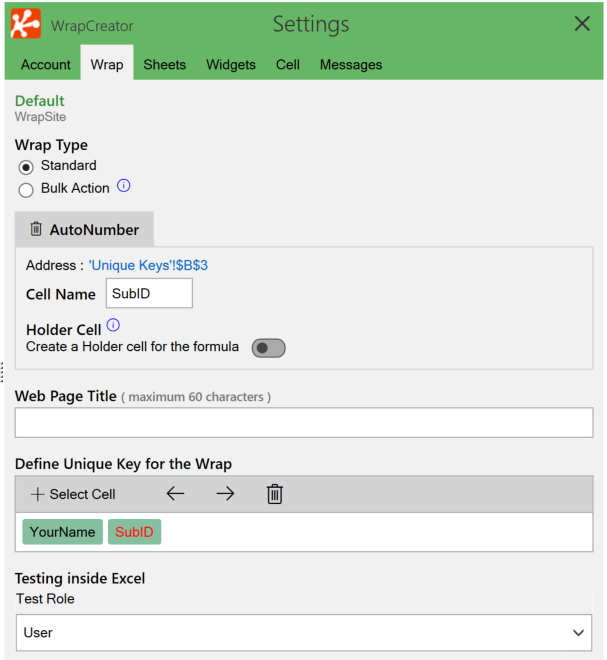
On the Wrap tab, you define important Wrap properties like the Unique Keys including the AutoNumber. You define the user role that will be simulated during testing in Excel and set the Wrap’s title.
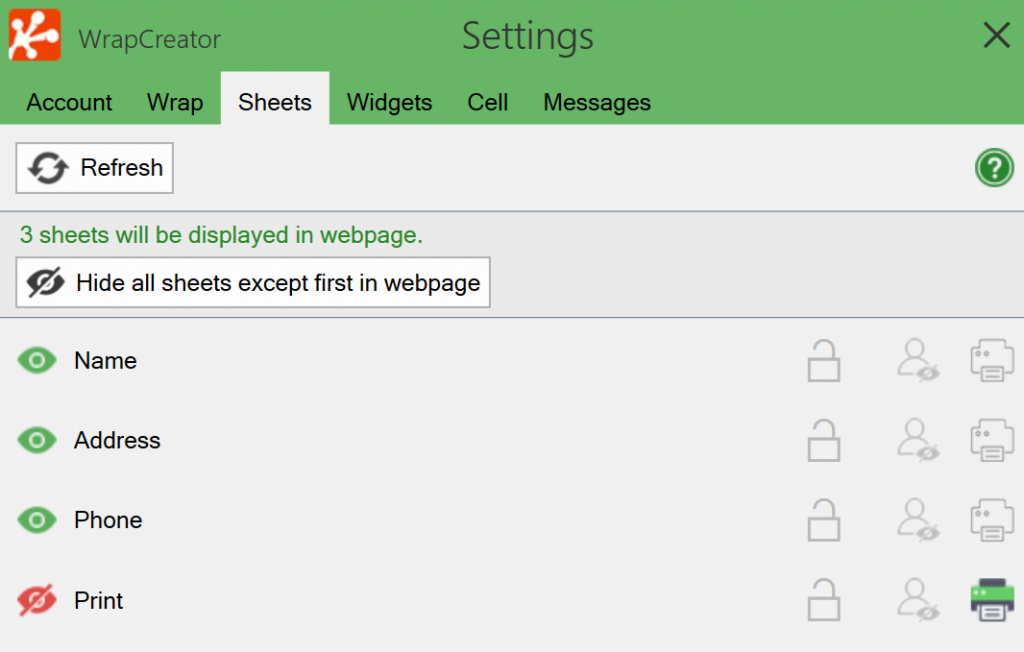
On the Sheets tab, you select the worksheets that will be visible as tabs in the wrap. You can hide worksheets that only contain long tables of internal lookup data, or that the user is not authorized to see. You can also lock worksheets for user input. Using a special Print Sheet, you can optimize the layout of the wrap for printing.
If you click on the Widgets tab you get a list of the various graphical widgets you can insert into the spreadsheet.
To change the width of the task pane, hold the mouse over the vertical separator but below the five dots until it turns into a double arrow, then click and drag the vertical separator left/right to match your requirements.
