Follow these instructions to add the add-in manually to Excel, if all other installation methods fail.
In some situations, WrapCreator cannot be installed automatically. One common reason is that you have installed Excel and the rest of Office from Microsoft Store.
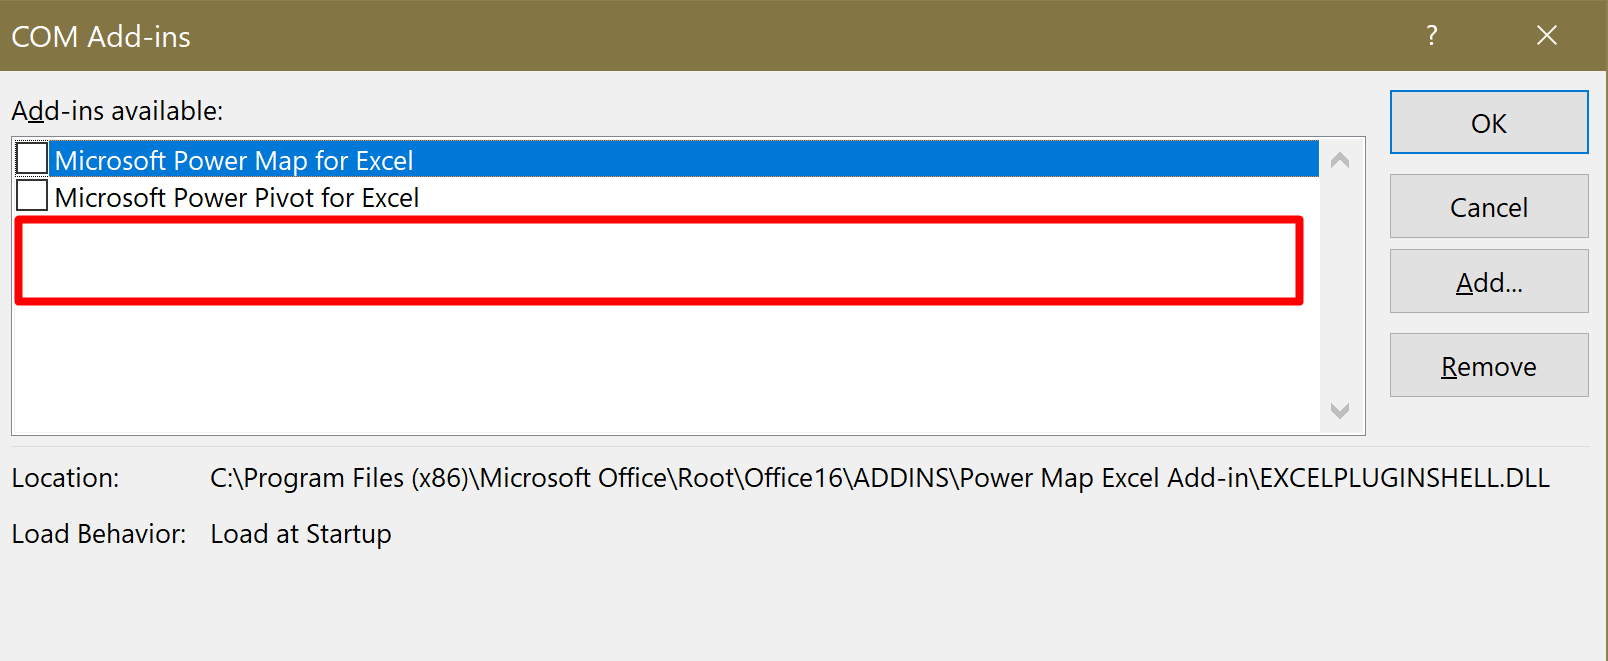
The most obvious symptom is that the menu ribbon is not visible in Excel, and that the add-in is not on the COM Add-ins list.

Follow the simple instructions below to manually add the add-in to Excel.
There are 32- and 64-bit versions of Excel. You are probably using a 64-bit version of Windows, but that doesn’t necessarily mean you are using a 64-bit version of Office. For this operation, we absolutely need to know which version you have. Follow these steps to determine which version you are using:
Start Excel and open a new, blank workbook.
Click File > Account > About Excel.
Locate the version number and note if your Excel is 32- or 64-bit.

In Excel, go to File > Options.
Select the Add-ins tab.
Locate the Manage drop-down list at the bottom of the Excel Options window.
Select COM Add-ins.

Click Go.

If WrapCreator is not in the list of COM Add-ins, click Add.
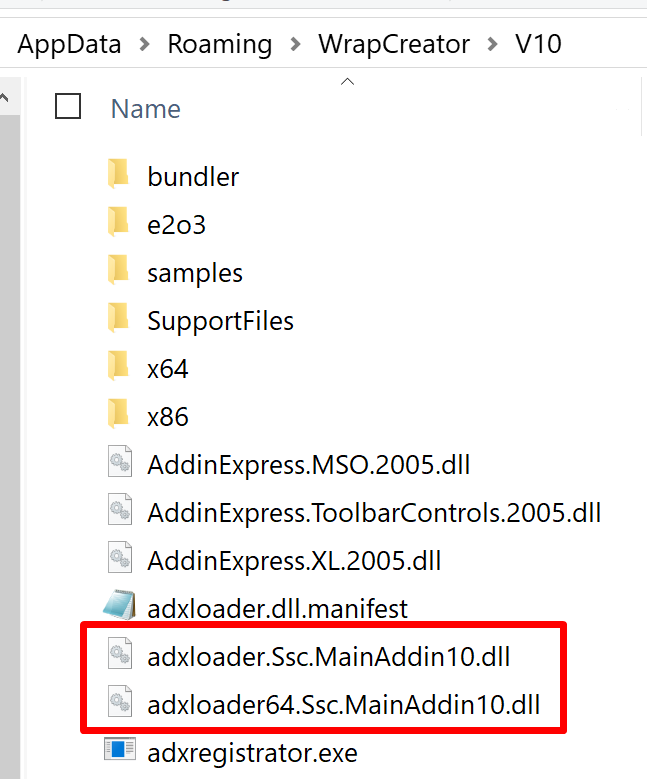
Navigate the add-in’s installation folder. By default, this is Users > [Name] > AppData > Roaming > WrapCreator > version. You may have to check View > Show hidden files… in the Control panel’s Folder options to make the AppData folder visible.

Click OK.
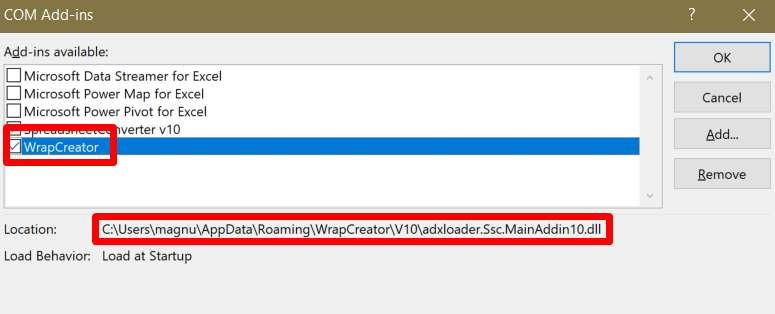
The add-in should now be installed in Excel and appear in the list of COM add-ins.

Ensure that the checkbox is ticked, press OK and restart Excel if necessary to make the WrapCreator ribbon menu appear in Excel.
You should now see the WrapCreator add-in in the Excel menu.
![]()
If you still have problems, don’t hesitate to contact client services.