If you need your visitors to pick a date in a form, use the calendar widgets. This makes it easier to locate the right date, and reduces the risk of errors considerably. You can use formulas to calculate a default date.
Calendar widgets make it much easier for the user to pick the right date. It also makes it easier to count from one date to another. The widgets ensure that any date picked from the calendar is valid, and formats it correctly for the recipient of the electronic web form using the regional settings.
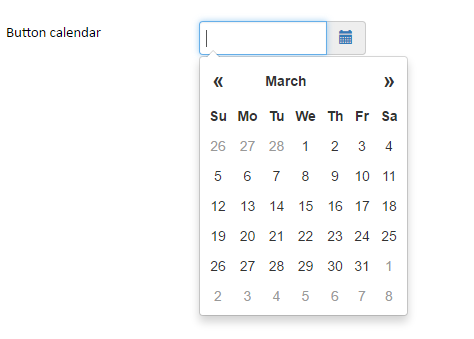
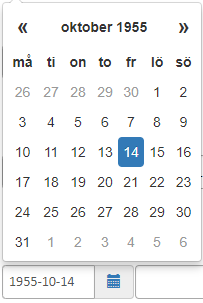
The calendar automatically uses the developer’s regional settings for the names of months and days. If your regional settings are for Swedish, your calendar looks like this instead:
You may need to change your regional settings before you convert the spreadsheet to a web page. Example: If you normally use the regional settings for French (Canada), but the web form you are developing is in English (Canada), you must switch to the corresponding regional settings before the conversion and you may also have to restart Excel.
When the user selects a date in the calendar, it appears in the widget cell, formatted according to your computer’s regional settings. The calendar may be positioned at a default date, e.g. today + 30 days. If there is a default date, it is visible in the date field already from the start.
Excel stores dates as sequential serial day numbers so that they can be used in calculations. By default, January 1, 1900, is serial number 1, and January 1, 2008, is serial number 39448 – because it is 39,447 days after January 1, 1900. The date returned by the calendar widget is always in the form of an Excel serial number.
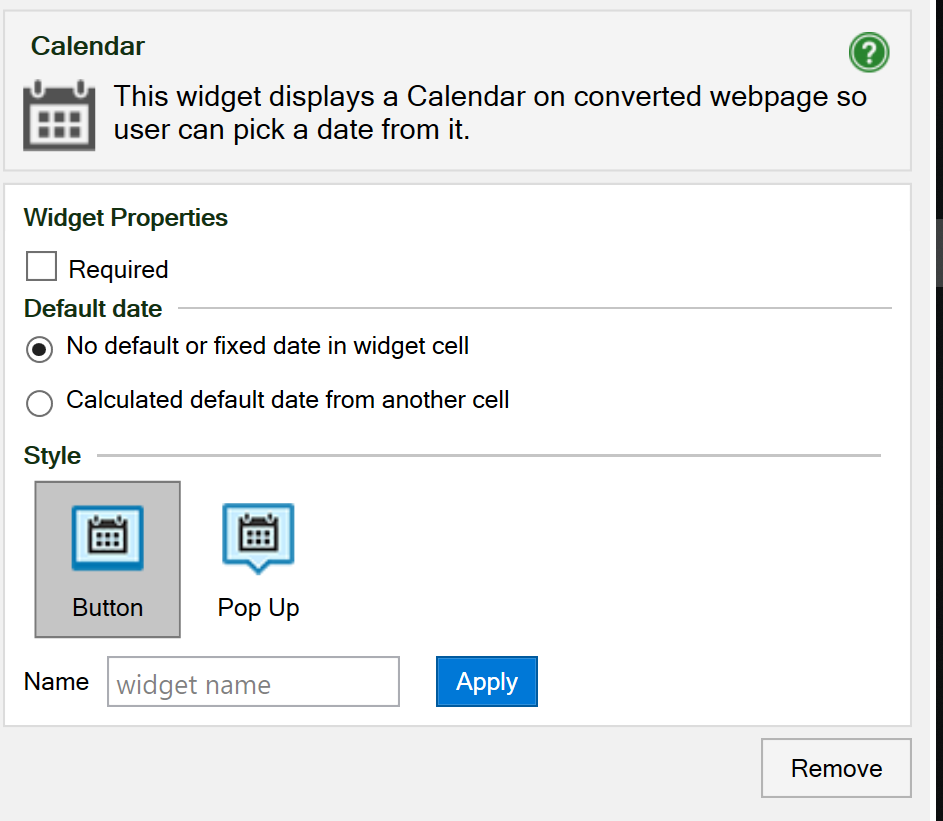
A Required field requires input from the user. This option is mainly used for electronic forms, where a form must contain a minimum of information to be meaningful. For Calendar fields, a Required date cannot be empty – a designated date must appear in the widget cell. If the widget cell is empty, no date has been selected, and the form cannot be submitted.
If you don’t provide a default date, the calendar will position itself on the user’s current date but not select it. If you have selected the Required option, it is not fulfilled until the user explicitly clicks on a date to select it.
If you do provide a default date for a Calendar widget, your proposed default will appear in the field and the calendar will position itself on the default date, and it will be selected. To select a date other than the default, the user must select a different date in the calendar. If you have selected the Required option, it is always fulfilled when there is a default date, unless the user empties the date field or types an invalid date into it.
The default date can come from one of five sources. The assignment occurs in the order below, using the first valid date that is eligible. We call this the default date assignment order.
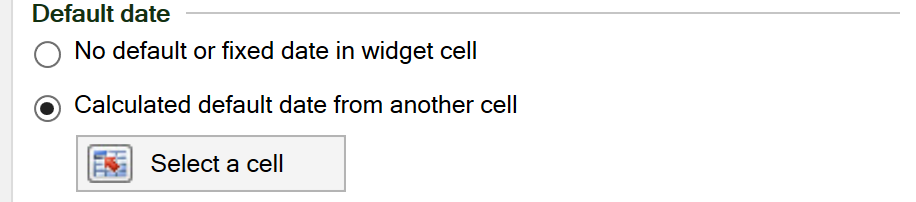
If you select to assign a Calculated default date from another cell, you must select a formula cell in the spreadsheet from which the calculated default date is taken. When the Select another cell window appears, just select the formula cell (or type its cell reference into the window) and press OK.
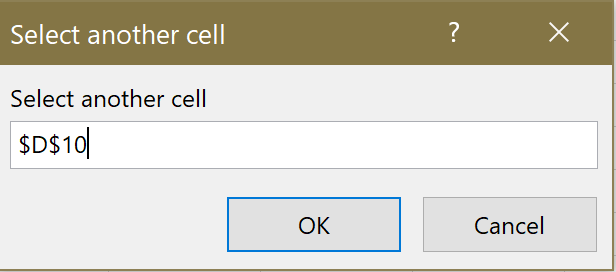
In the formula cell, D10 in the example above, you can calculate the default date using any suitable formula, e.g. =TODAY()+7. The formula cell must contain a valid date in the form of an Excel serial number. For clarity, you may want to assign a date format to the formula cell, so that you can see what date it is returning to the Calendar widget.
Regardless of how the default date is set according to the assignment priority above, the calendar will position itself on the default date, and it will be selected. With a valid default date in the cell, Required is always fulfilled.
There are two calendar styles:
Name your widgets in all wraps. You can name your fields in the widgets or give them cell names in Excel.
Click on the Remove button to remove the calendar widget from the widget cell.
As you can see in The default date assignment order above, you can use a separate formula cell to calculate a default date for the Calendar widget. You can use the same technique to put a fixed timestamp into each form, e.g. using the function =NOW().
In both cases, the cell contains a formula and will be locked for user input. It is not hidden by default, however. To hide a calculated date, insert a Utility widget into the formula cell and select Make hidden field. Even if you hide the default date in the web page, it will be included with the other form fields when the form is submitted.